Australia’s leading yoga equipment supplier
Up to 35% off products and all orders $750+ 5% off, $1500+ 10% off or $2500+ 12.5%. No ABN or application required.
Australia’s leading yoga equipment supplier
Up to 35% off products and all orders $750+ 5% off, $1500+ 10% off or $2500+ 12.5%. No ABN or application required.


Timely Shipping &
Delivery

Supporting
Carbon Neutral

Highest-quality
Materials

Unique, Innovative
Designs
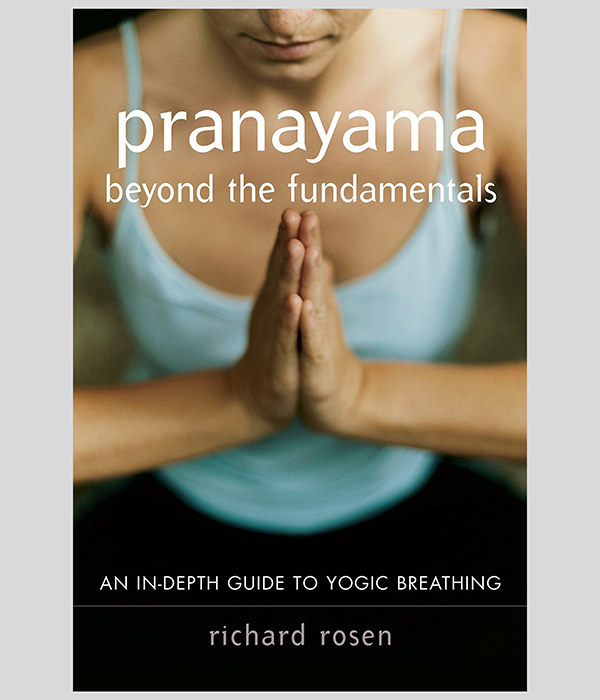
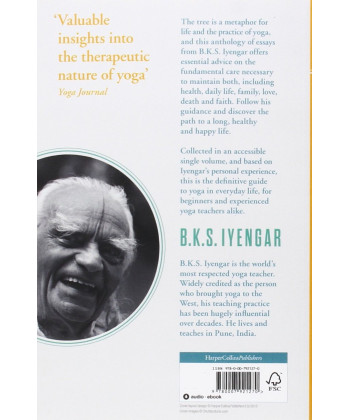
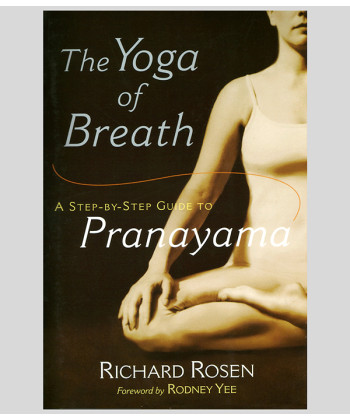
An in-depth guide to Yogic breathing with instruction CD of 75 minutes.
Pranayama Beyond the Fundamentals is an in-depth guide to Yogic breathing with an instruction CD of 75 minutes.
Especially intended for serious students of yoga who have an established pranayama practice, this book is a follow-up to Rosen's previous book, The Yoga of Breath. Rosen covers a range of awareness disciplines, breathing practices, mudras, and seals, interspersed with anecdotes and quotes from ancient texts. The enclosed instructional CD offers a variety of guided yoga practices so that listeners can create their own pranayama series, with guidance from the author in the appendix.
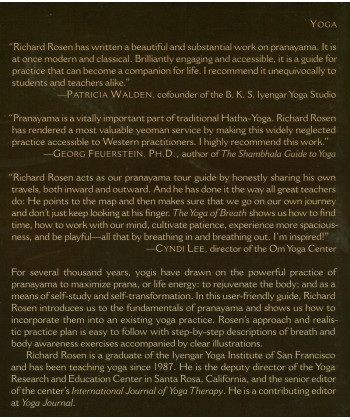
"This is an exceptional guide into the labyrinth of inner yogas. Richard Rosen is impeccably thorough, and his presentation is accessible and often amusing. Reading this book, I felt as though I was in the presence of an ancient yogi-scholar who is masquerading as a close personal friend. I highly recommend."
- Sarah Powers
Format: Paperback & CD | 214 Pages
Dimensions: 152 mm X 230 mm X 15 mm
Publication date: 200
6
Author: Richard Rosen
Publisher: Shambala
Publication City/ Country: Boston, United States
& London, Great Britain
Language: English


Reviews
There are no reviews yet.